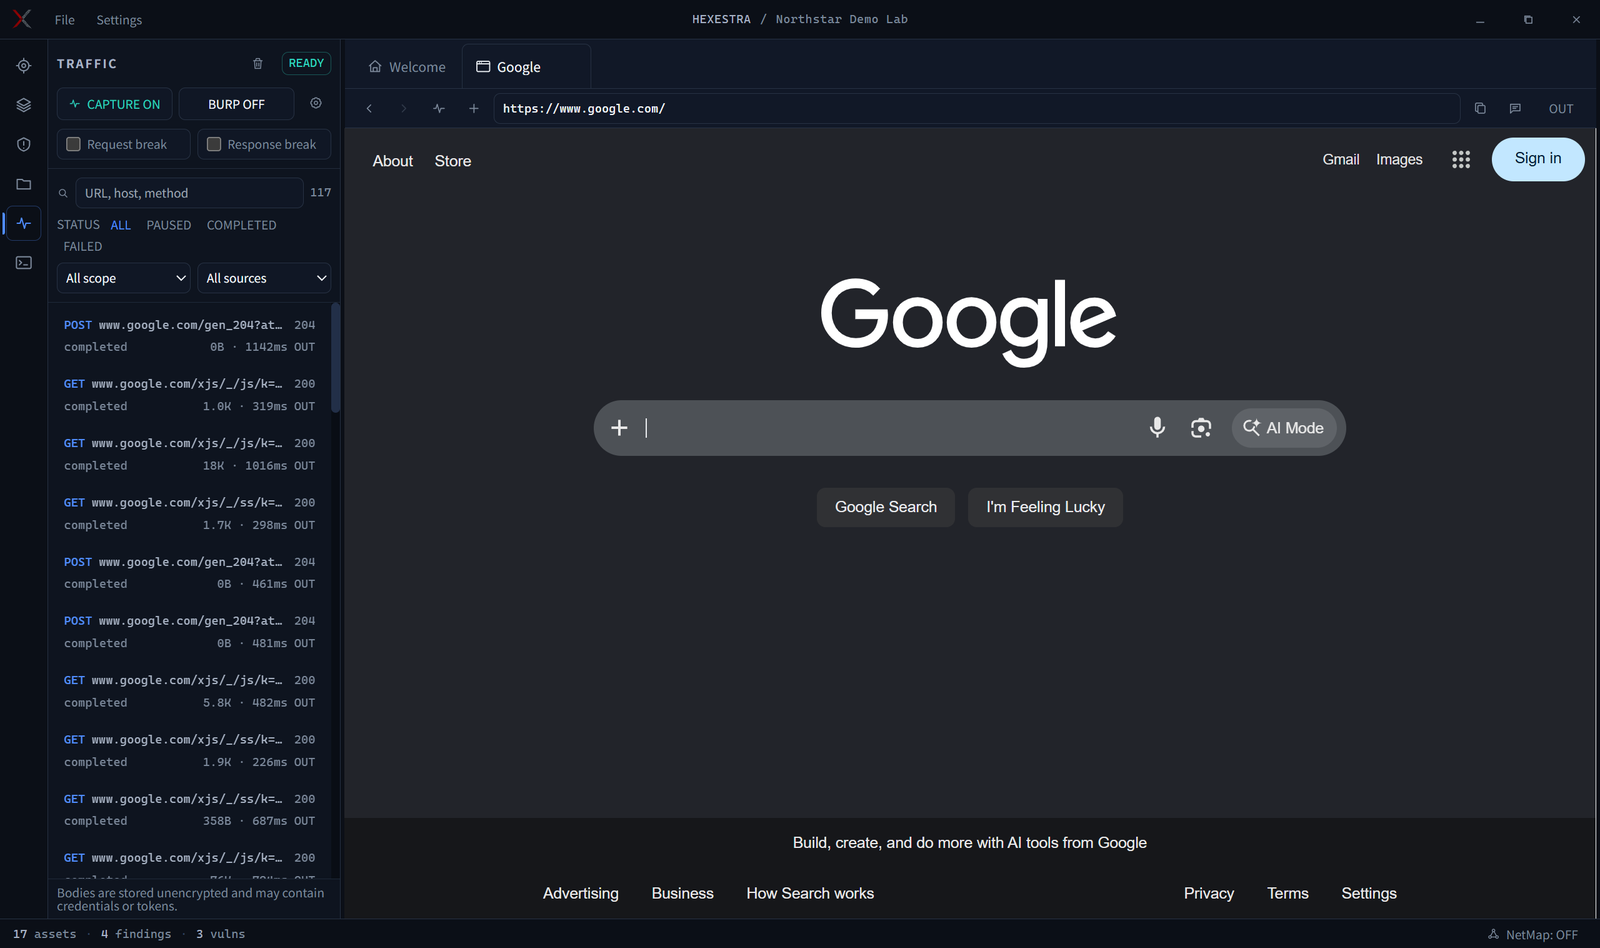
AI-native penetration testing IDE where operators and an AI agent share browser, terminals, traffic capture, shells, asset graph, tasks, and evidence in one project workspace.

An AI-native penetration testing IDE where human operators and AI share the same browser, terminals, traffic, asset graph, tasks, evidence, and controls.
[!WARNING] Hexestra is intended exclusively for authorized security testing. Never use it against systems you do not own or have explicit permission to assess.
Hexestra brings the fragmented parts of a penetration test into one project. Scope labels give the Agent semantic asset context, while the operator can inspect, guide, approve, interrupt, or take over at any time.
These screenshots use the fictional Northstar Demo Lab, reserved example.test domains, documentation-only IP addresses, synthetic identities, and synthetic evidence.
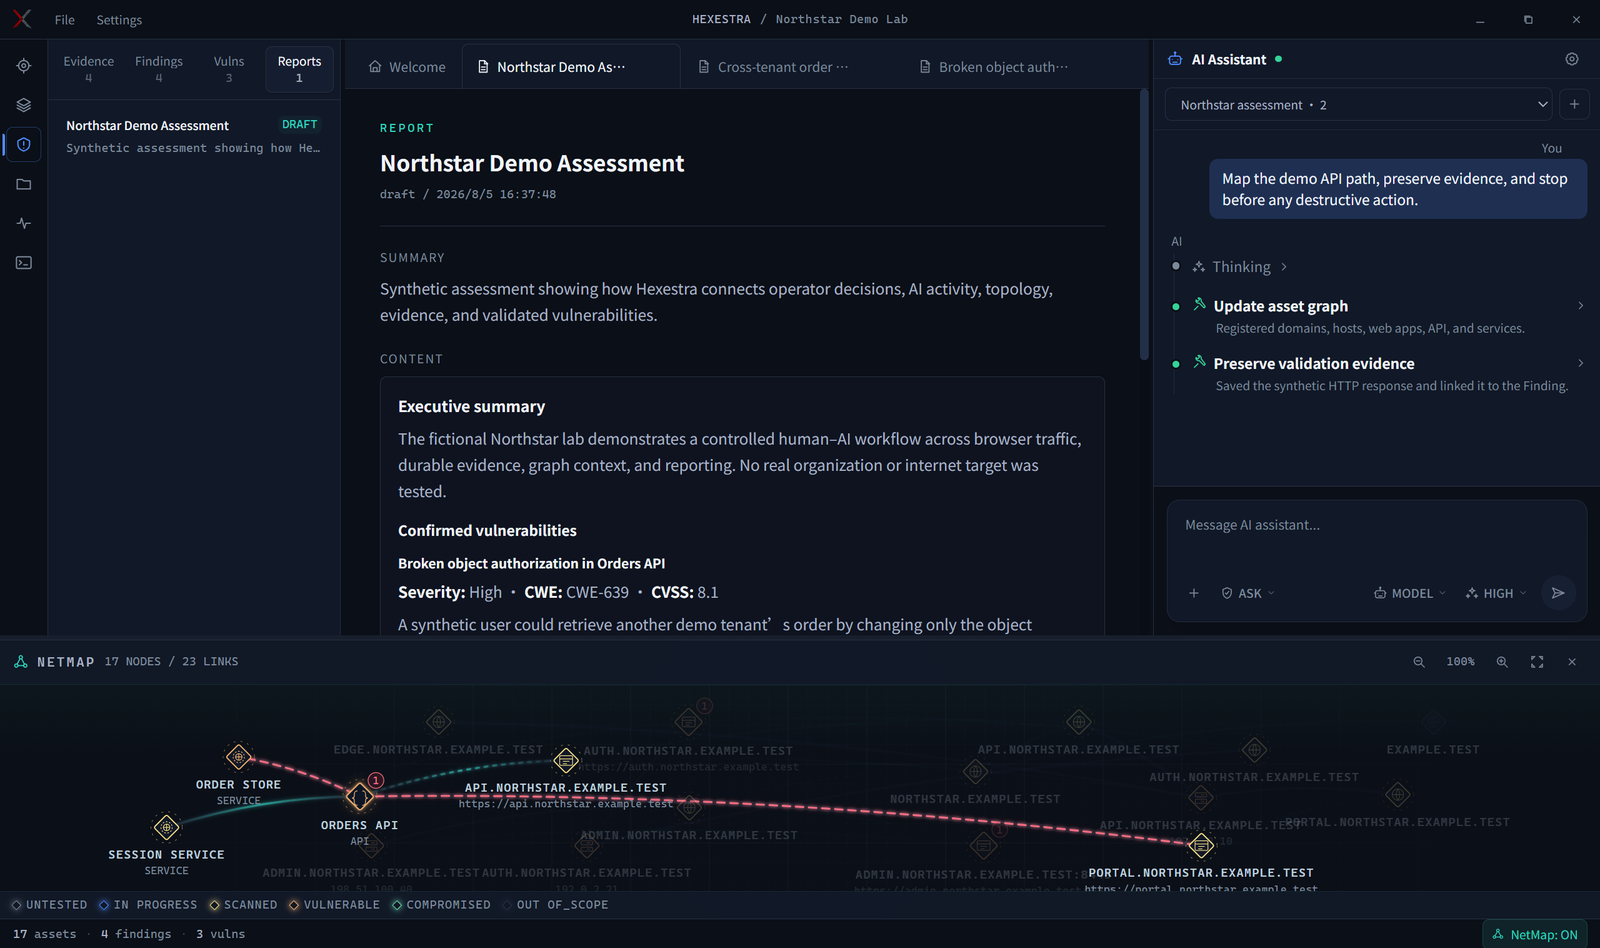
The shared workspace keeps the task tree, report, Agent activity, active asset, and 17-node NetMap in one controllable surface.
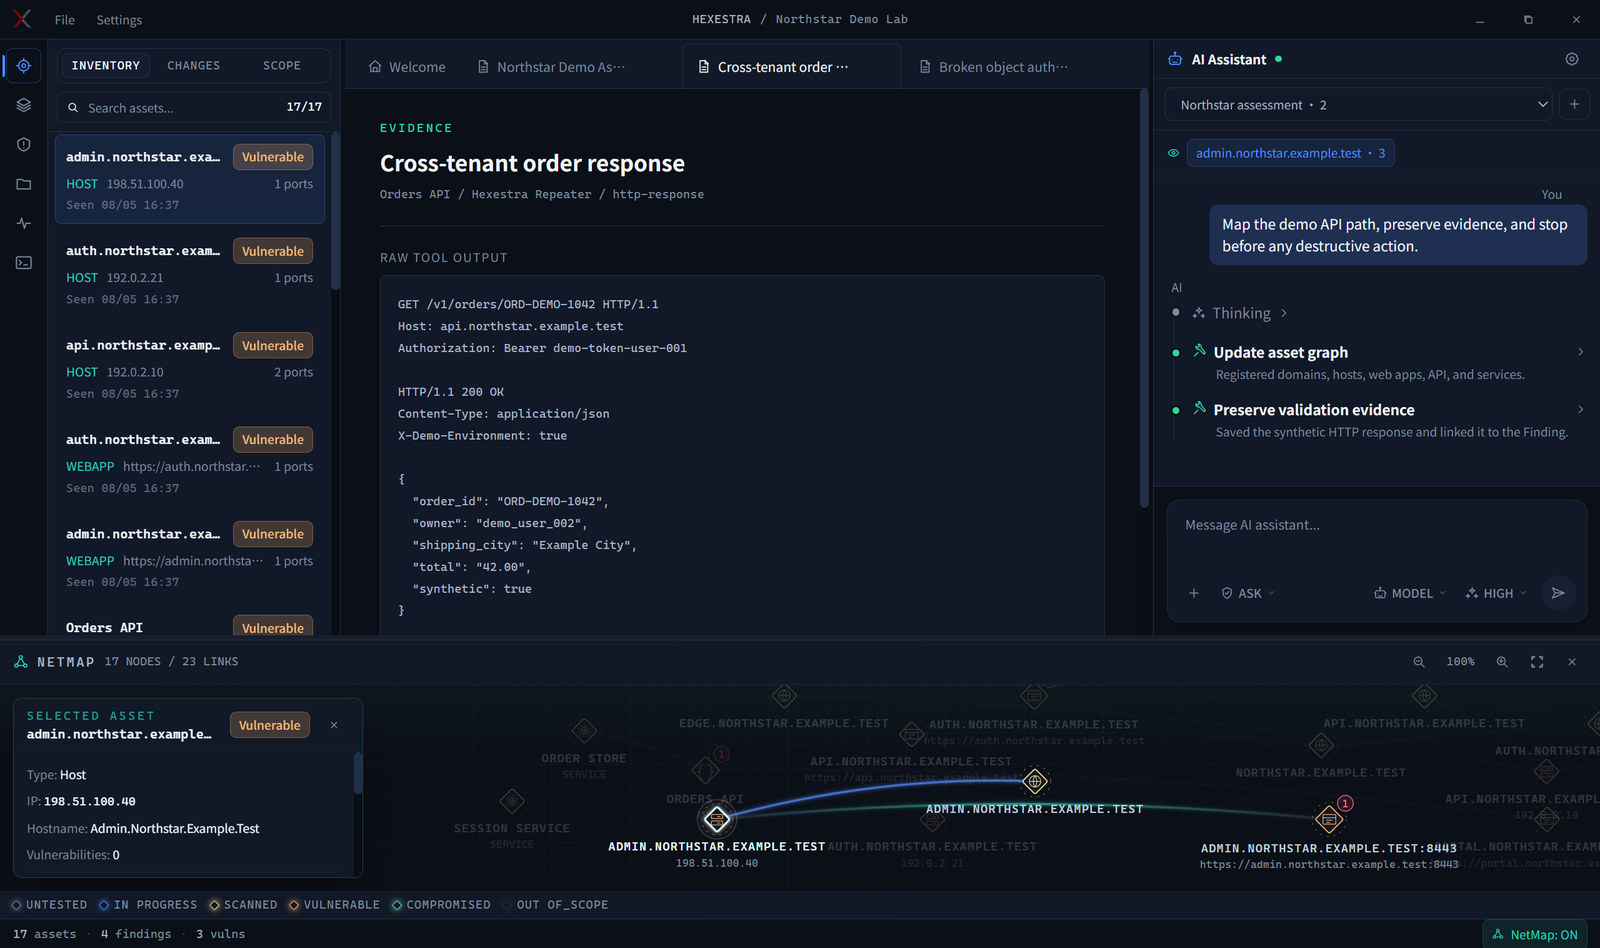
Target assets are displayed on the left, with related assets and details shown below in NetMap.
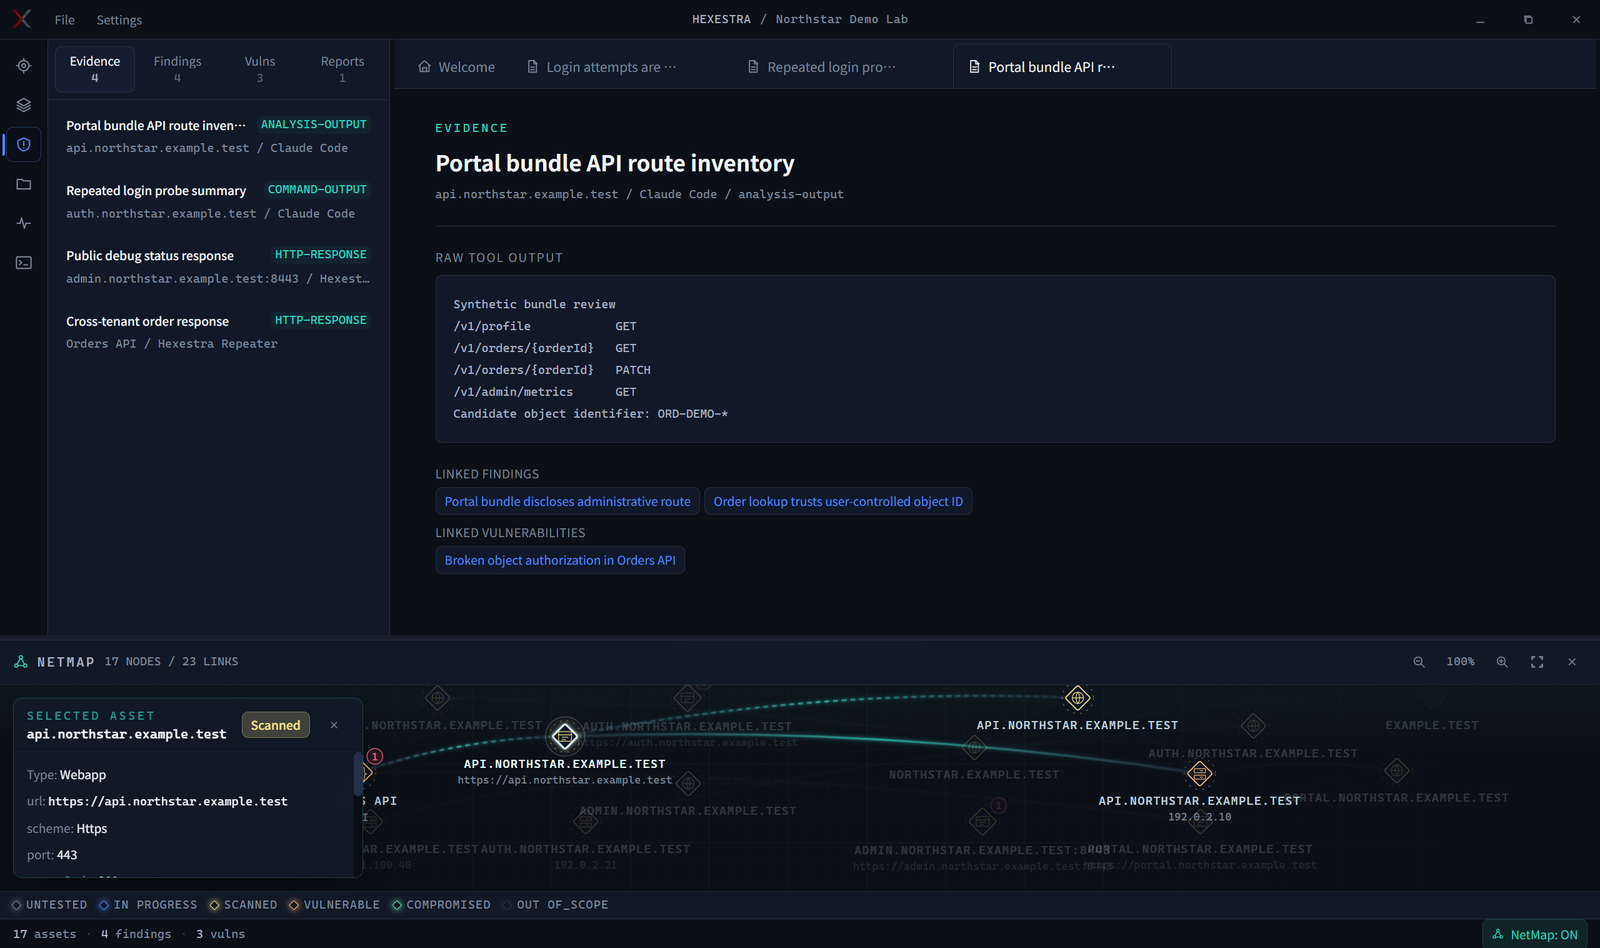
Evidence preserves raw output and links it to the Finding and validated Vulnerability.
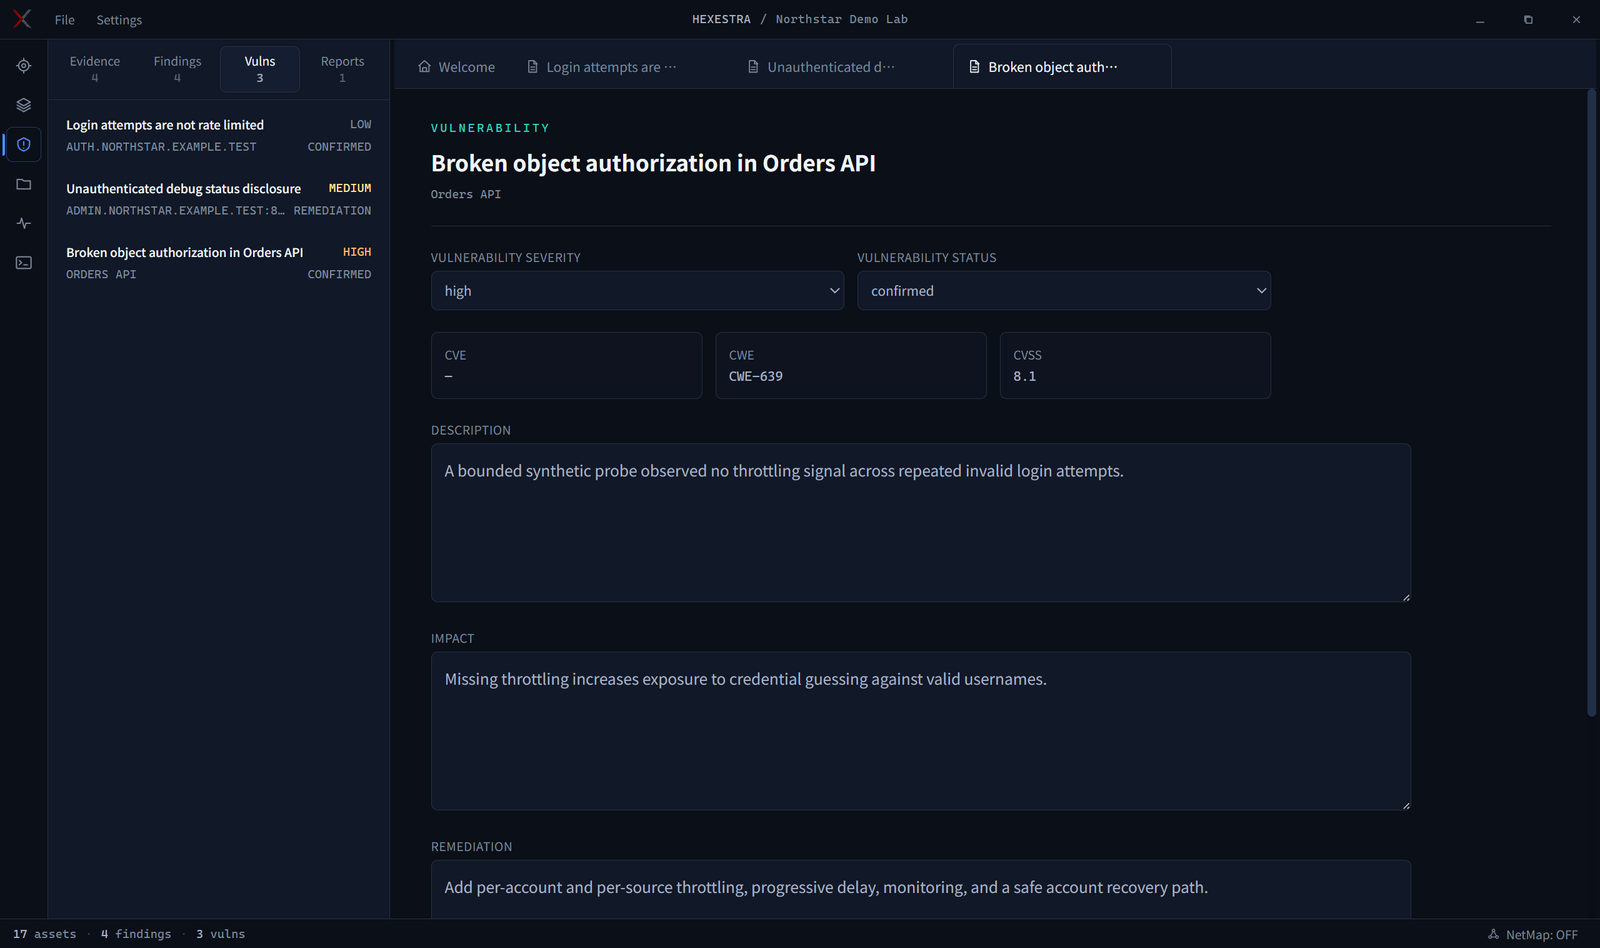
A validated Vulnerability keeps severity, lifecycle, impact, remediation, and linked context together.
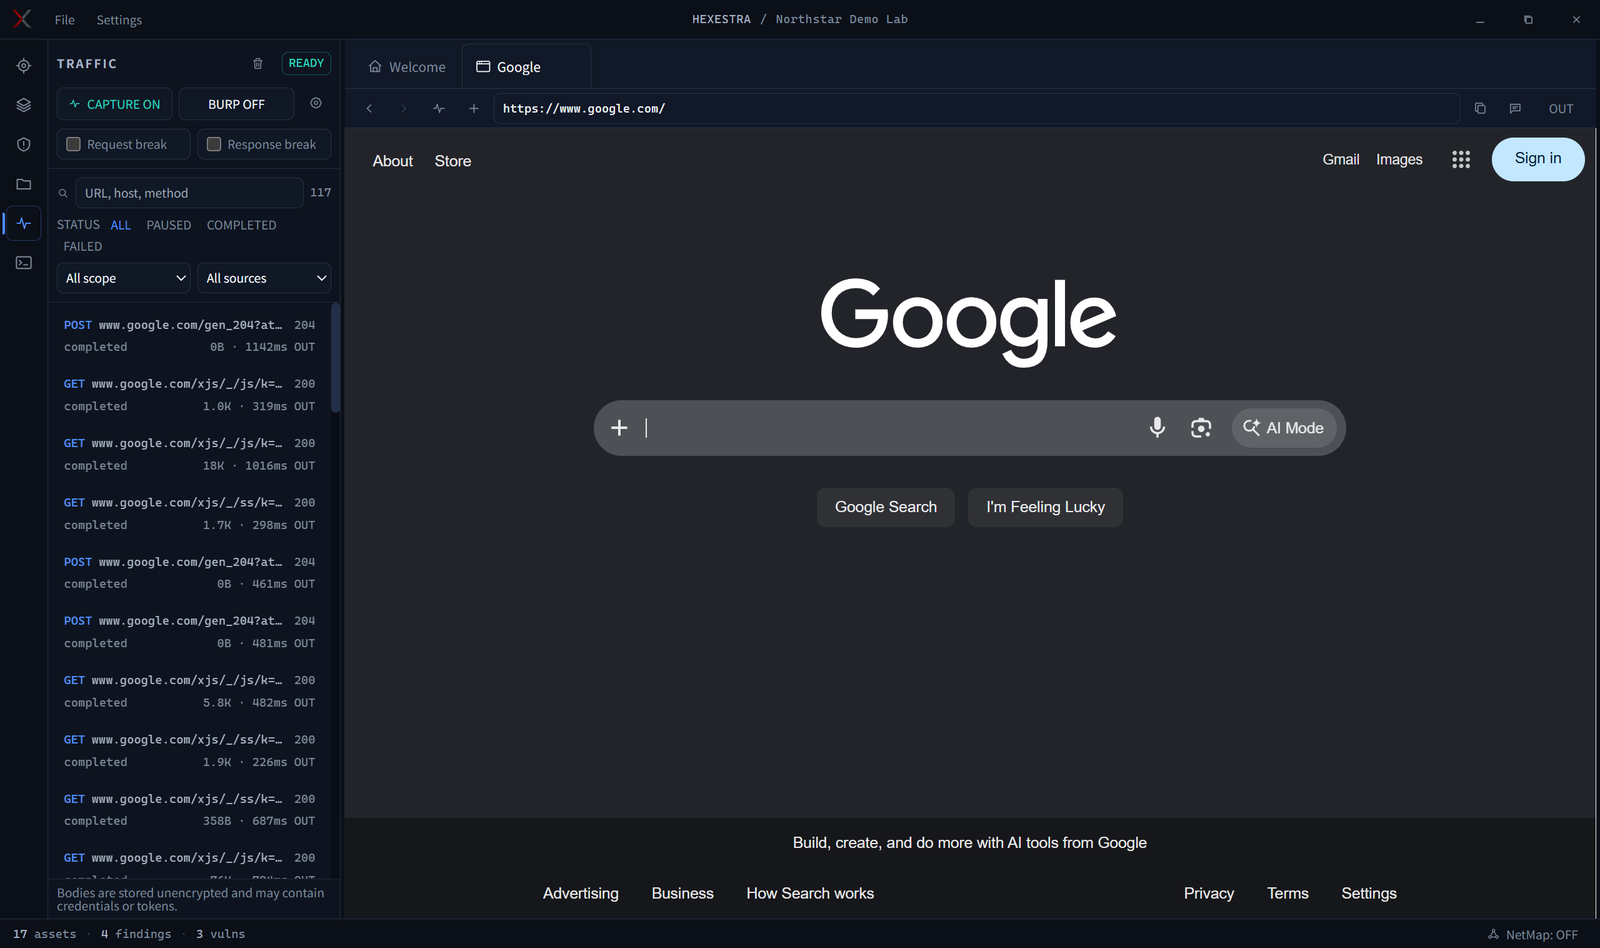
Use the built-in browser to access targets; enable capture on the left to record traffic, with interception and replay support.
Run these commands in the Native or WSL environment selected under Settings > Connection:
npm install -g @anthropic-ai/claude-code
claude --version
To use an Anthropic account:
claude auth login
claude auth status
Set provider variables in the same terminal that will start Hexestra. DeepSeek example from its official Claude Code integration guide:
Linux and macOS:
export ANTHROPIC_BASE_URL=https://api.deepseek.com/anthropic
export ANTHROPIC_AUTH_TOKEN="YOUR_DEEPSEEK_API_KEY"
export ANTHROPIC_MODEL='deepseek-v4-pro[1m]'
export ANTHROPIC_DEFAULT_OPUS_MODEL='deepseek-v4-pro[1m]'
export ANTHROPIC_DEFAULT_SONNET_MODEL='deepseek-v4-pro[1m]'
export ANTHROPIC_DEFAULT_HAIKU_MODEL=deepseek-v4-flash
export CLAUDE_CODE_SUBAGENT_MODEL=deepseek-v4-flash
export CLAUDE_CODE_EFFORT_LEVEL=max
Windows PowerShell:
$env:ANTHROPIC_BASE_URL="https://api.deepseek.com/anthropic"
$env:ANTHROPIC_AUTH_TOKEN="YOUR_DEEPSEEK_API_KEY"
$env:ANTHROPIC_MODEL="deepseek-v4-pro[1m]"
$env:ANTHROPIC_DEFAULT_OPUS_MODEL="deepseek-v4-pro[1m]"
$env:ANTHROPIC_DEFAULT_SONNET_MODEL="deepseek-v4-pro[1m]"
$env:ANTHROPIC_DEFAULT_HAIKU_MODEL="deepseek-v4-flash"
$env:CLAUDE_CODE_SUBAGENT_MODEL="deepseek-v4-flash"
$env:CLAUDE_CODE_EFFORT_LEVEL="max"
Replace the endpoint, token, and model names for another Anthropic-compatible provider. Never commit an API key.
Run these commands in the Hexestra project root:
npm ci
npm run electron:dev
When running Hexestra from source, install mitmproxy and confirm that
mitmdump is available:
uv tool install mitmproxy
mitmdump --version
Packaged builds include a mitmdump runtime, so Traffic Capture works without a separate mitmproxy installation.
Download Mihomo from the upstream releases, then select its executable under Settings > Proxy. v1.19.29 is the tested and recommended reference version, but Hexestra does not enforce an exact version: a runnable binary is accepted and compatibility is determined by configuration validation and Controller startup. Mihomo is an external, user-provided GPLv3 runtime; Hexestra does not download or redistribute it.
Proxy enforcement is isolated to the active project: no TUN or system proxy is enabled. Browser, Traffic/Replay, outer SSH or jump-host connections, and WebShell requests use the managed route. Local and WSL terminals receive HTTP_PROXY, HTTPS_PROXY, ALL_PROXY, NO_PROXY, and WSLENV; programs that ignore these variables and open raw sockets can bypass the terminal boundary. Claude API traffic and secondary egress created by commands on a remote shell are outside v1.
When enforcement is on, a missing node, invalid chain, stopped/crashed runtime, or failed reload blocks managed egress instead of falling back to a direct connection. Run the real two-hop acceptance smoke with:
HEXESTRA_MIHOMO_PATH=/path/to/mihomo npm run test:proxy-smoke
Burp integration is optional. Hexestra captures traffic through mitmproxy and mirrors completed exchanges to Burp through an authenticated loopback Bridge; Burp is not silently inserted into the browser's live network path.
Build the Bridge on Windows, Linux, or macOS with JDK 17:
npm run build:burp-bridge
resources/burp-bridge/hexestra-burp-bridge.jar.Mirrored exchanges appear in Target > Site map and, when supported, Organizer. Burp's public extension API cannot create synthetic entries in Proxy > HTTP history.
npm run electron:build
npm run audit:public
npm run check
Use Hexestra only with explicit authorization and an accurate project Scope. Destructive, disruptive, or privacy-impacting actions require appropriate approval, and exported evidence or reports should be treated as sensitive data. Scope labels guide Agent prioritization but do not block commands or traffic; ASK, AUTO, and BYPASS change approval behavior, while Rules of Engagement and technical safety boundaries remain enforced. Hexestra does not replace professional judgment or accountability.
See the contribution guide and changelog.
Hexestra is licensed under the Apache License 2.0. Third-party components remain subject to their own licenses and terms.