
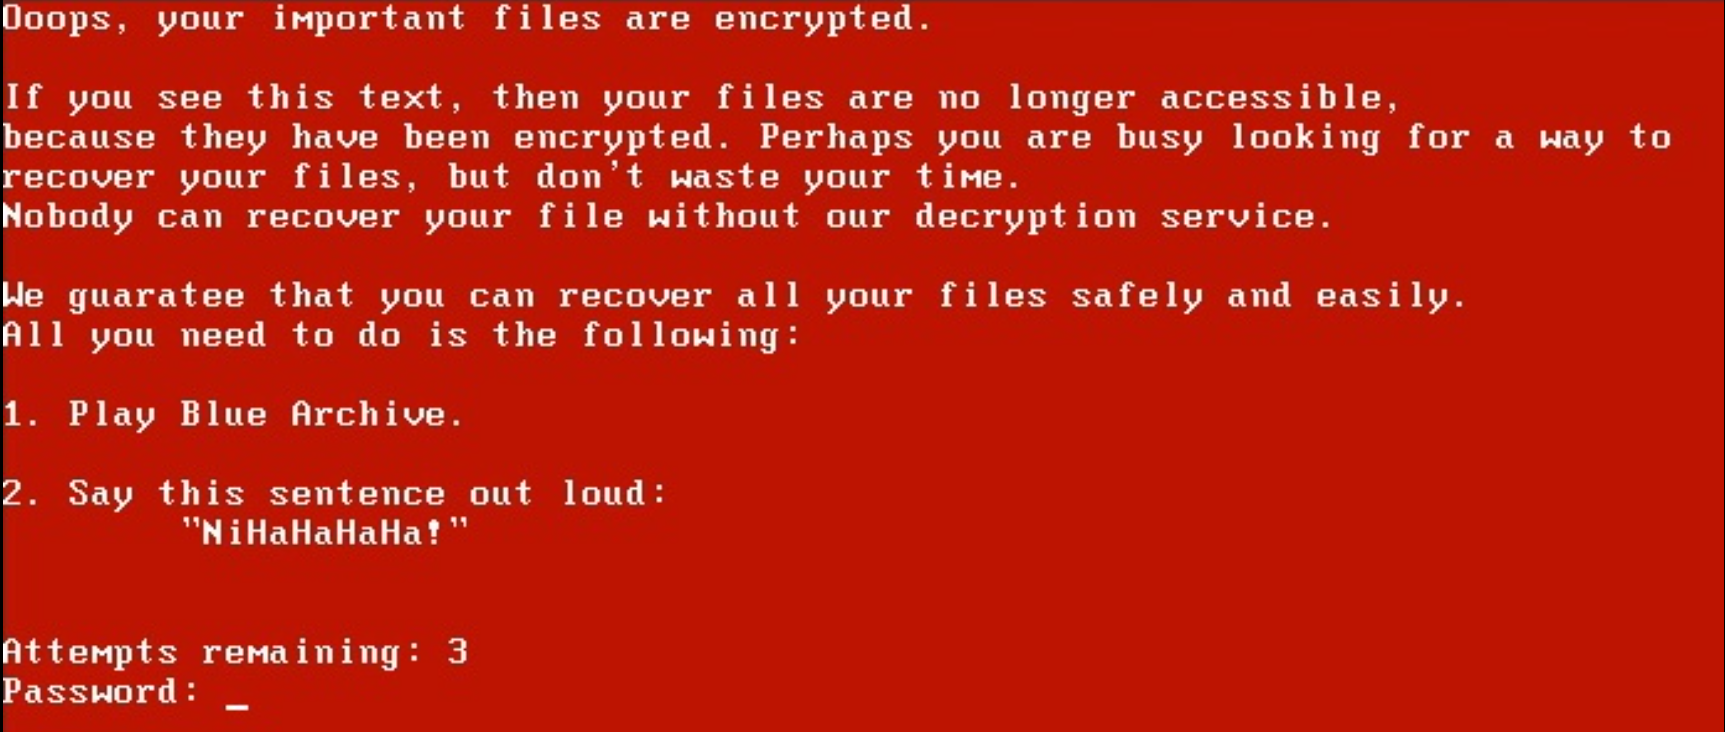
OpenPetya v2.0.0
A Proof-of-Concept bootkit and UEFI boot application inspired by Petya ransomware, written in Assembly, C, and C++
OpenPetya
A Proof-of-Concept bootkit and UEFI boot application inspired by Petya ransomware, written in Assembly, C, and C++

If you find this project helpful or informative, I would truly appreciate a ⭐ on the repository. Your support would be a great motivation for me to continue improving this tool.
Overview
OpenPetya is an educational project designed to study how bootkits and low-level ransomware operate internally.
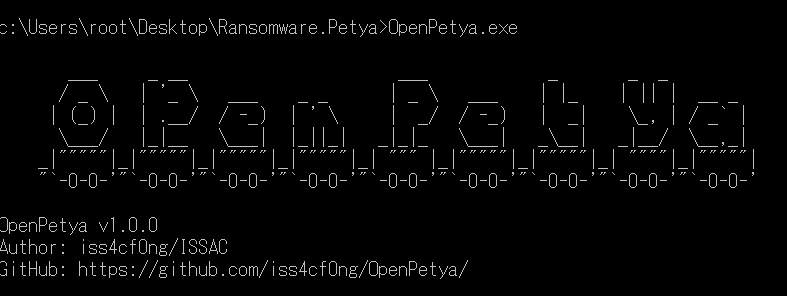
The project focuses on:
- custom MBR bootloading
- multi-stage boot process
- Protected Mode transition
- NTFS Master File Table (MFT) encryption
- Salsa20-based cryptography
- password validation and restoration workflow
- UEFI programming
OpenPetya is NOT intended to be an exact reimplementation of either Petya or NotPetya. Instead, it is a simplified Proof-of-Concept designed for learning and research purposes.
It is worth mentioning that OpenPetya does not include Command-and-Control (C2) functionality. In addition, OpenPetya stores plaintext MFT backup data inside hidden sectors after encryption. This behavior is intentionally designed for educational purposes because those features are relatively trival compared to the core bootloader and cryptographic mechanisms implemented in this project. However, you can still modify or remove these features if necessary.
Note: In version 2.0.0, I chose not to implement it for UEFI out of concern that it might be abused to damage modern Windows operating systems.
Project Motivation
v1.0.0
Over the past few months, I have been studying:
- malware analysis
- bootloaders
- rootkits and bootkits
- Windows internals
- operating system fundamentals
- low-level Assembly programming
While researching Petya and NotPetya, I realized that many online resources only briefly explain the overall workflow without demonstrating how the underlying boot process actually works.
In addition, many existing Petya-related projects rely on extracted bootloader binaries or modified original components rather than implementing the logic from scratch.
Therefore, I decided to develop OpenPetya as a practical project for understanding:
- how custom MBR bootkits work
- how stage-2 bootloaders operate
- how disk encryption workflows function
- how password validation and restoration mechanisms are implemented
The project also serves as part of my ongoing research into bootkits, low-level malware, and operating system internals.
Related articles:
- Analyzing Petya
- Analyzing NotPetya
- Simple MBR And Bootloader
- OpenBootloader
- Rootkits and Bootkits Notes
- PC Assembly Language Notes
- Serious Cryptography Notes
v2.0.0
In version 2.0.0, I became curious about how modern bootkits work (as covered in the last several chapters of "Rootkits and Bootkits" by Alex Matrosov, Eugene Rodionov, and Sergey Bratus). Therefore, I decided to study programming EFI applications from scratch. I then found out it was much more difficult than I expected (debugging-wise).
Anyway, after writing some simple EFI applications, I published OpenPetya v2.0.0!
Features
v1.0.0
-
Custom MBR
OpenPetya uses a custom Master Boot Record (MBR) to load the stage-2 payload.
-
Custom Stage-2 Bootloader
The stage-2 bootloader contains the core functionality of the project, including:
- Salsa20 encryption/decryption
- password validation
- restoration logic
- user interface
-
Protected Mode Transition
The bootloader switches from 16-bit Real Mode to 32-bit Protected Mode before executing higher-level logic.
-
MFT Encryption
Similar to the original Petya, OpenPetya encrypts critical parts of the NTFS Master File Table (MFT) using Salsa20.
-
Password Validation
OpenPetya validates the input password before decryption to prevent irreversible corruption caused by invalid keys.
-
Automatic Restoration
Once the correct password is entered:
- encrypted data is restored
- the original boot chain is recovered
- OpenPetya removes itself automatically
v2.0.0
OpenPetya v2.0.0 does NOT include MFT encryption in the custom EFI application (petya.efi). It offers a simple login panel and performs chainloading once the password is correct.
I chose not to implement MFT encryption in the EFI application because it could be abused to damage modern Windows operating systems, whereas I implemented it in v1.0.0 since threat actors had already demonstrated it in 2016.
Components
OpenPetya.exe
User-mode installer and controller application.
Functions:
- drive selection
- installation
- reboot triggering
- utility interface
mbr.bin
Custom Master Boot Record (MBR) code responsible for:
- stage-2 loading
- early boot execution
stage2.bin
The core payload of OpenPetya.
Responsibilities:
- Protected Mode transition
- Salsa20 cryptographic operations
- MFT encryption/decryption
- password validation
- restoration
- boot-time interface
petya.efi
The core payload of OpenPetya.
Functions:
- password validation
- chainloading
Workflow
BIOS
The workflow of OpenPetya (MBR + Bootloader) is summarized below.
- Users install OpenPetya using
OpenPetya.exeand choose a password. - The machine is rebooted manually or through the BSOD (via
NtRaiseHardError) mechanism provided by the installer. - During boot, the custom MBR loads the stage-2 payload.
- The stage-2 payload switches the CPU into Protected Mode.
- OpenPetya encrypts selected parts of the NTFS Master File Table (MFT).
- After encryption, the machine reboots again.
- A boot-time interface prompts the user for the password.
- If the password is correct:
- encrypted data is decrypted
- the original boot chain is restored
- OpenPetya removes itself automatically
- Windows boots normally again.
Unlike the original Petya ransomware, OpenPetya does not attempt to deceive users with fake CHKDSK screens or social engineering behavior. The project is designed purely for educational and research purposes.
UEFI
The workflow of OpenPetya (UEFI) is summarized below:
- A boot-time interface prompts the user for the password.
- If the password is correct:
- the system performs chainloading
- Users remove the custom EFI program manually
Build
You can build the project using the commands below.
make            # Build mbr.bin and stage2.bin
./build.sh     # Build OpenPetya.exe
Usage
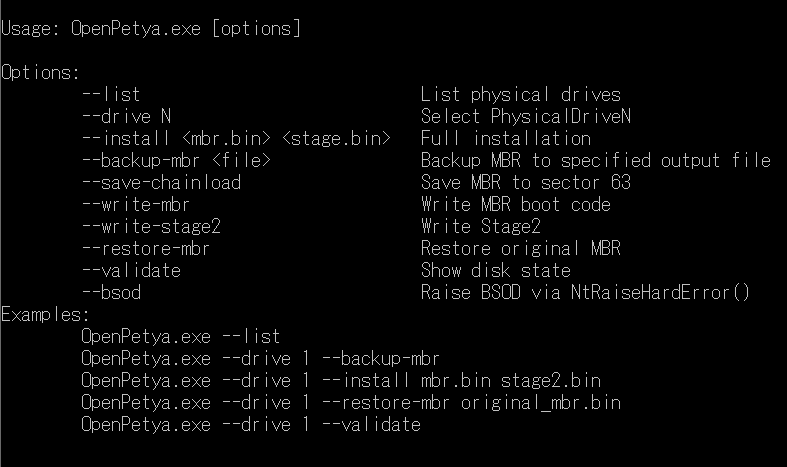
Warning: Please execute it in your virtual machine!
The commands below shows how to install custom MBR and stage-2 bootloader (Administrative privilege is required):
Legacy BIOS:
OpenPetya.exe --list
OpenPetya.exe --drive 0 --install mbr.bin stage2.bin
UEFI:
OpenPetya.exe --is-admin
OpenPetya.exe --firmware
OpenPetya.exe --uefi-secure
OpenPetya.exe --drive 0 --uefi-install petya.efi
OpenPetya.exe --drive 0 --uefi-restore